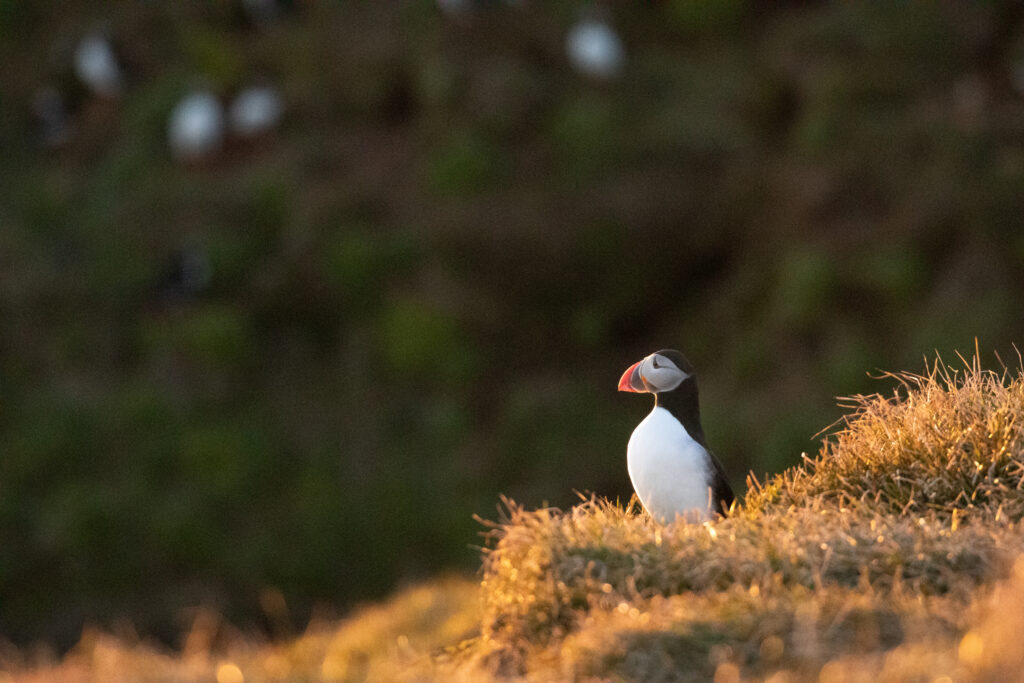
It was sunset in the Arctic, and words could not describe what I felt. Light shimmered across the ocean, rendering the landscape gold. A single puffin stood on a nearby outcrop, its silhouette illuminated by the late-day light. The sounds of gulls echoed from the cliffs. Nestled within the grass, I took a deep breath before lifting my camera to capture the moment. So far away from everything, it was a story worth telling with a picture.
Storytelling through images is an art. Most photographers will agree that when we take a picture, we aim to capture a feeling or mood. It is this moment we want to share with the viewer —whether it is nostalgia, joy, anticipation, or love. They all exist in nature, and it is through the photographs that we can share these moments with the world.
Doing this involves a combination of skill, practice, patience, a good eye, and connecting with ourselves. A good story, whether in a book or an image, evokes a feeling in the viewer or reader. Whether it is joy, love, curiosity, suspense, or sadness, the art is being able to evoke this in the audience.
Connecting with our own feelings about our subjects is one of the most essential steps in the process. When one loves their subjects, you can see that in their work. It just shines through.
A few questions to ask yourself when composing a photograph:
- What is it about this subject that makes it special?
- What is it about this subject that makes it special to me?
- What landscape do I expect to find this subject in, and how does this area make me feel?
- How will light, action, and color play a role in this composition?
- What emotion do I want to invoke and why?
In this post, I share seven ways I use composition to tell a story in my bird photography. Storytelling in photography is the difference between creating flat images and images that will bring your viewers into the moment with you.
Have a plan but don’t be afraid to alter it
One habit I changed that improved my photography was carving out time to plan my shoot. This includes not only location and time but also journaling about composition, subject, light, and the feeling of the images I want to capture.
In the ideal world, the plan works out. The light is perfect, I find a suitable location to shoot from, and my subject arrives and does precisely what I expect. In wildlife photography, a cooperative subject is a bit of luck, knowledge, and patience. Unlike human portraiture, we cannot ask our subject to pose, face the camera, or step into the light; we have to hope it does!
If my plan doesn’t work, I will either adjust it to focus on another subject or take it as a learning experience.
The reason for having a plan is so you have an idea of what to do. It saves time when you arrive at a location and will inspire your compositions for story telling.
A few examples of this:
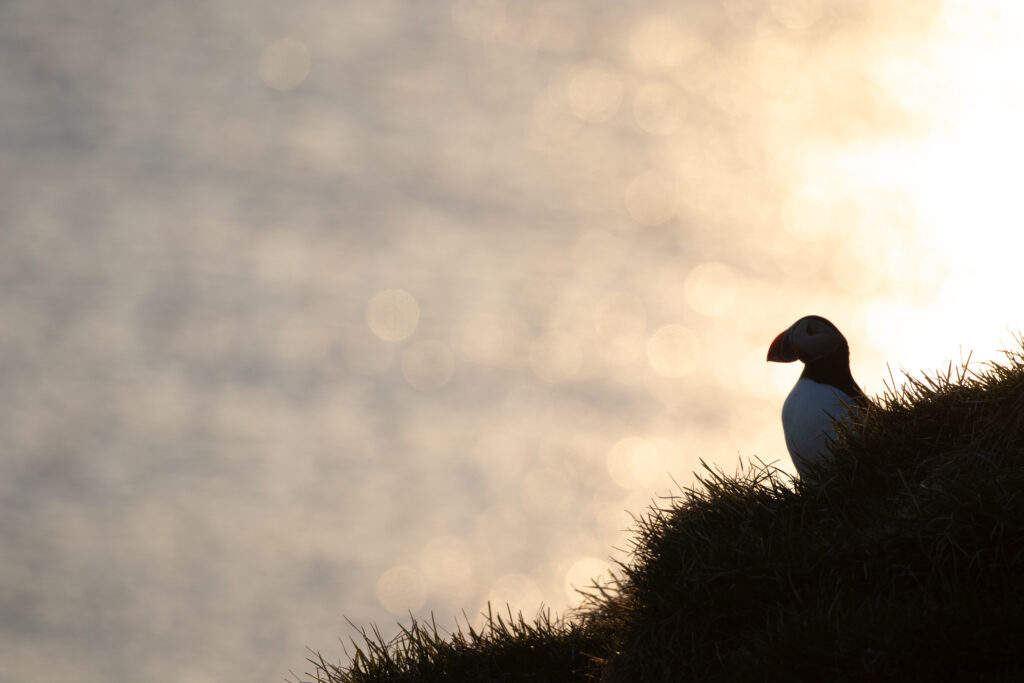
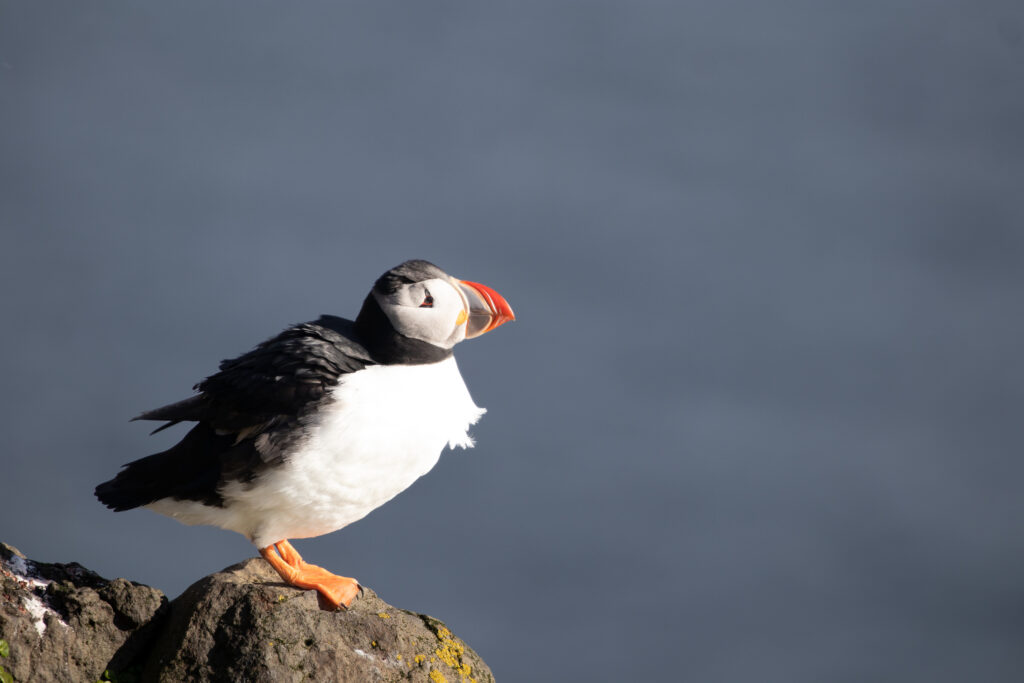
- Atlantic puffins at golden hour on Grimsey. I wanted to photograph Atlantic puffins during the golden light on Grimsey in the Arctic. I had a few ideas for images before I arrived, and thankfully I did, for there were SO many puffins it would have been easy to get distracted! One image I had in mind was a silhouette of a puffin at sunset. After capturing a few images I was happy with, I had free time to let the landscape and other local seabirds inspire me. I left Grimsey with several photographs I was happy with, as well as a few surprise ones that snapped during my free-flow time.
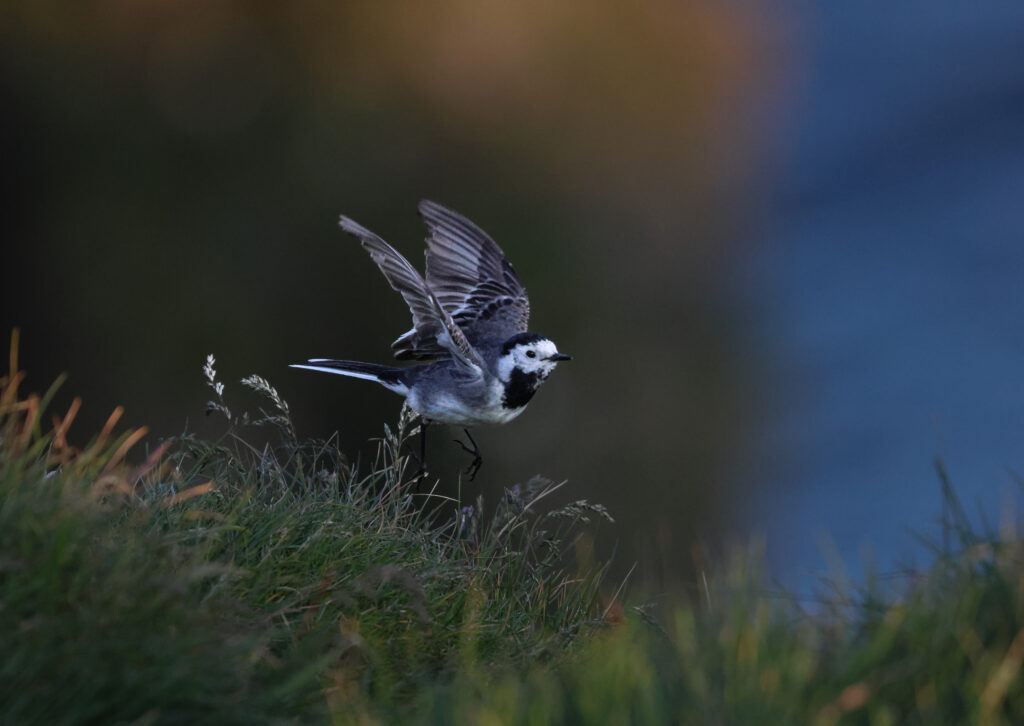
- The White Wagtail on Westman Island. I had arrived on Westman Island to photograph puffins at sunset, but there were hardly any puffins! Most were too far away on the cliffs or still out hunting, so I found a spot to hide and observe the surroundings. That is when this White Wagtail landed nearby in the perfect grassy knoll illuminated by the golden sun.
Tips: Journal any ideas that come to you regarding your bird photography. If you have a subject in mind, reflect on what you’re interested in about it. Could you include your thoughts on the environment it inhabits and how you can capture the essence of that particular bird within it? Take into account lighting, time of day, weather, and colors of the surrounding area it dwells in to create your story.
Know your subject: This is one of the most critical steps in wildlife photography. You wouldn’t want to show up in Iceland to photograph puffins in February or midday in June, only to discover puffins are only on land from May through August and are most present near land in the early morning and evening hours.
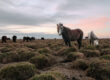
Knowing your subject’s behavior and environment is a critical step in forming the best possible plan. This involves researching times of day your subject is most active, their preferred environment, what they eat, how they hunt, where they prefer to nest or dwell, and their behavior around humans. For example, to photograph Arctic foxes, we would head to the beach around low tide, knowing the foxes would be on the hunt for mollusks or fish.
Furthermore, understanding behavior helps create a neat composition that you can also use to educate your viewers about your subject.
Train your eye
Your eye is your most important piece of equipment you can invest in. Your eye determines essential pieces of creating a pleasing composition, such as leading lines, depth of field, colors, shapes, and subject placement.
There are many techniques to train your eye, but I will share how I do it. For me, it is getting out there with no plan, taking slow walks where I have time to linger, look, wonder, and let my imagination flow. Just as important as having a plan is getting out there without one, to look.
During these walks, I make notes of ideas that come to mind. I usually bring a camera to capture anything of interest I see, such as the way light streams through the forest or how a downed log draws my eye to the nearby brook. During these walks, I spot a place of interest and see it from various angles. I get low, move to higher ground, look at it from different directions to see what changes. Even if something may not work, I look anyway.
Another helpful way to train your eye is to take a photography workshop with other photographers. For me, this has been especially beneficial for learning composition, new techniques, meeting new friends, and learning my equipment. Fellow photographers can offer fresh perspectives, new ways of looking at a subject, and tips on their own techniques.
Training your eye can be done regardless of the camera equipment you own, and it has not only improved my skills as a photographer but also taught me mindfulness and how to see the beauty all around me- a valuable life skill no matter what you are doing.
Use of light
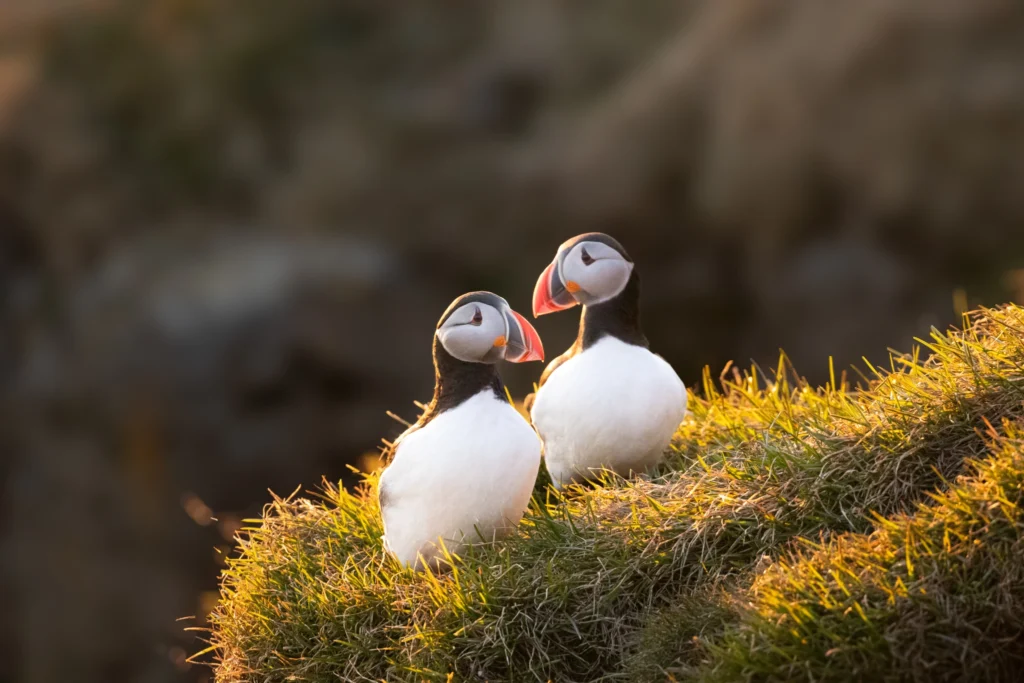
Natural light can be a photographer’s best friend or enemy; however, there are ways to work with all light, including the harsh midday sun. When I photographed Atlantic puffins on Westman Island, I arrived before daybreak and again before the Golden Hour set in. Because I was camping on the island, I had the luxury of choosing when to photograph the puffins, but on Grimsey I did not.
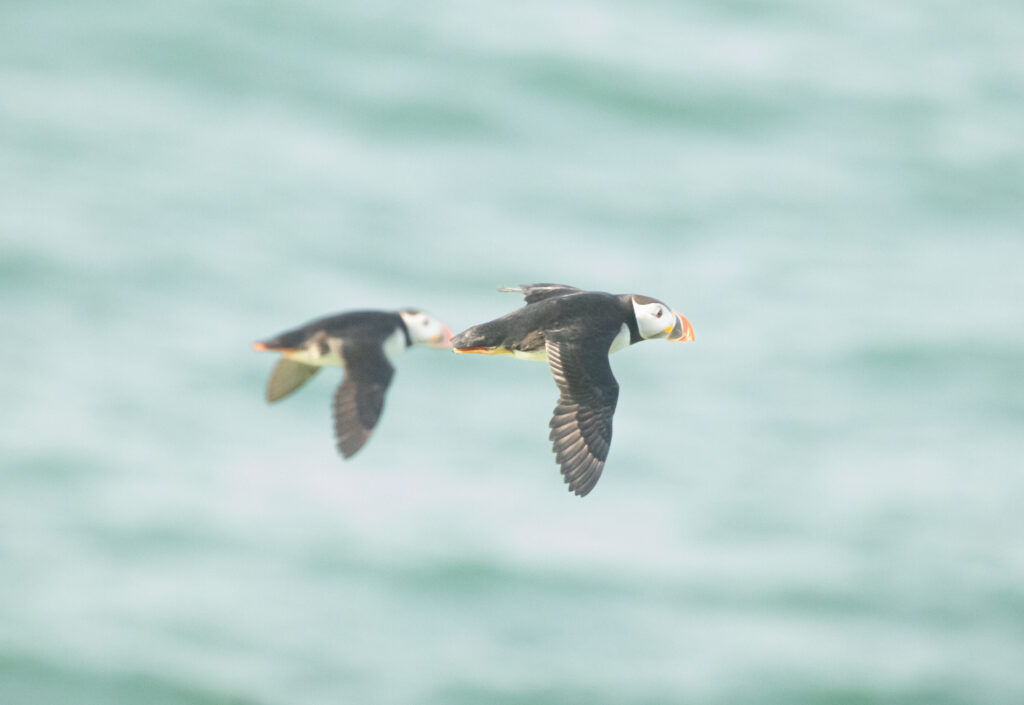
The ferry arrived on Grimsey around noon on a bright and sunny day. I had a full day and a whole night to photograph the puffins, and I wanted to make the most of every minute. I hiked towards the tip of the island and found a spot near the cliffs where the sun was not as harsh. This was also an excellent opportunity to practice puffins in flight.
In the evening, I returned to capture the puffins at sunset. Because I had arrived during the day, I had plenty of time to scout the island, get a good understanding of light and the colony’s behavior, and plan accordingly.
In all of these cases, I established a plan before I arrived. I determined the sun’s direction relative to the location and noted critical times such as the Golden hour, the blue hour, and last light, using my Alpenglow app.
When I waited for a puffin, I studied the landscape and their behavior. I observed things like how the light affected the grass, how it sparkled on the ocean, and also which way the puffins faced when they flew. Did they fly into the light or away from it? This helped me determine the composition and how to use whatever light was available to work with my images.
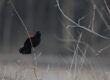
For each of these images, the light played a role in the story I wanted to tell. In the case of the Guillemots, I used the absence of light to create a neat shadowy look for these mysterious bay dwellers whose song would fill the town with a mythical siren-like quality in the evening hours.


Tip:
Use apps like Alpenglow and PhotoPills to determine key moments in your locations, such as Golden hour, daytime, last light, and sunset. Give yourself plenty of time to arrive before this time to scout an area and adjust the plan if needed. Observe how the light influences the landscape, and then incorporate that into your composition. Work with all light. Don’t shy away from midday or late-day opportunities. Instead, play with how you can use all light or the absence of light to create a story in your composition.
Action

Action is one of the best ways to tell a story in bird photography. Action can convey feelings such as anticipation or suspense, or showcase an animal’s behavior. My experience capturing action photos has been a combination of patience, luck, and not being afraid to crank my shutter speed up for birds in flight.
- Focus on the bird’s eye view, the best you can, when tracking. My Canon R7 has an eye tracker feature built in, but my previous model did not. I was still able to achieve clear bird-in-flight photos, but it took more practice and time.
- I recommend starting at 2400 or higher for smaller birds. Remember, the higher the shutter speed, the less light will enter the lens. You will have to adjust your camera’s settings accordingly.
In the case of flying puffins, it was patience. I spent hours one morning observing, tracking, and photographing puffins in flight. Out of the 1000 shots, I walked away with a dozen good ones that I was happy with.
Action in low light is more challenging than in light, so be aware that you may need to practice settings extensively before perfecting this, and tailor your composition to reflect the situation at hand.

Tip:
Achieving a high-quality action shot takes patience.
Adjust your camera’s settings for continuous focus and shooting. Don’t be afraid to crank up the shutter speed ( higher for smaller birds). In Canon models, you will want to switch your camera to “servo” mode to ensure it continues to focus on your subject as it moves. It also switches your camera to continuous shooting instead of One Shot Mode, which is more useful for landscapes or still subjects. Use the Wildlife Subject tracker or a similar feature in your model—practice tracking a bird in flight.
Go ahead and break that 3/4 rule! In photography classes, one of the first things I was taught was that the subject should be 3/4 of the way into the composition. This is not always the case. For example, if a bird is coming in for a landing from, let’s say, the ocean, I would prefer to show more of the sea behind it, and a smaller window of landscape in front to tell the story of the bird returning from her journey. If a bird is taking flight, I would do the opposite; however, this is all subjective!
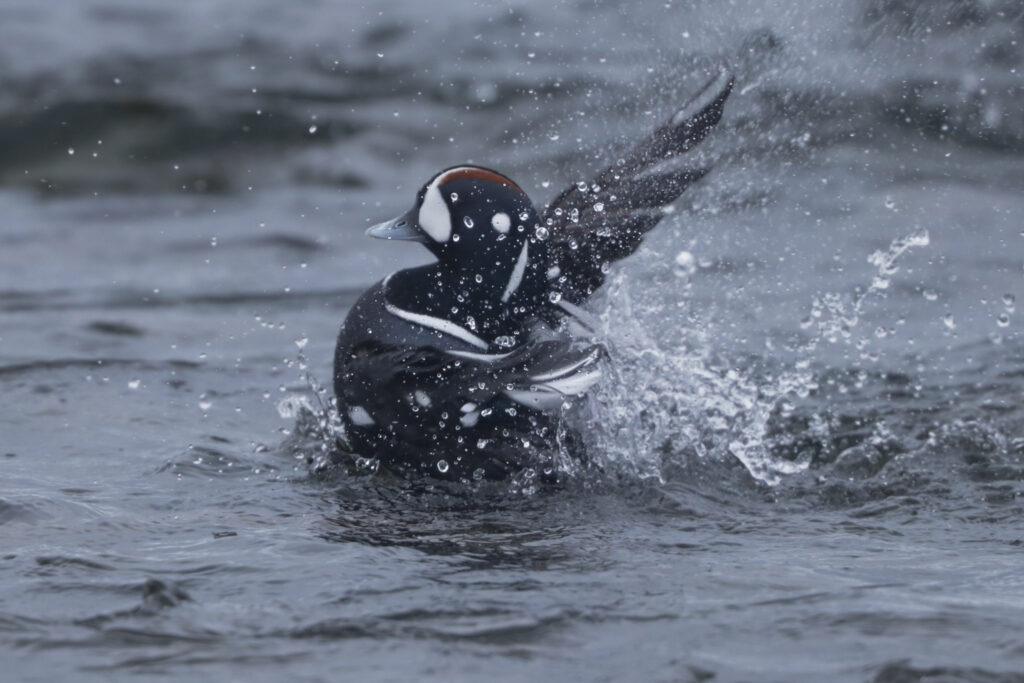
In the picture of the Harlequin ducks taking flight, I wanted to show the wake they left behind them. Harlequin ducks are very playful and active. They were chaos near the shore among the Eiders and swans. I love how the image shows the disruption in the water around them, as this is most of the time the case when they are around!
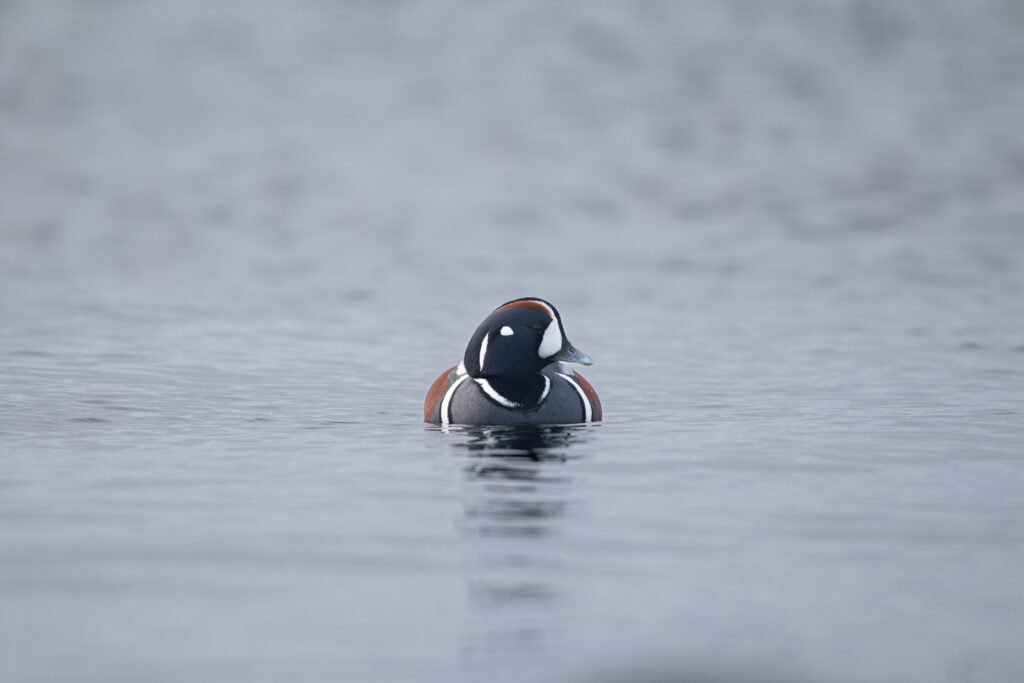
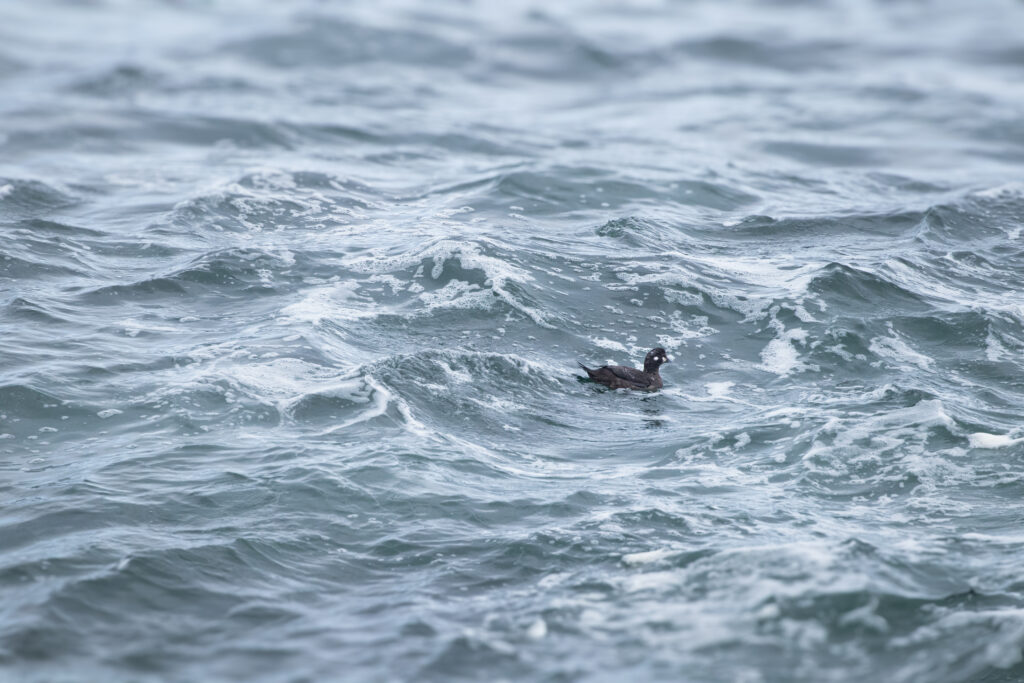
For the photo of the single Harlequin duck below, I wanted to center my solo subject to create a sense of calm and peace for the viewer. As much as action can tell a story, so can the absence of action. Stillness creates a sense of ease and peace, especially when coupled with a neutral canvas color such as the grey water.
Never forget that, when it comes to your photography, it is your photography and should reflect your personal style and storytelling. This will evolve, and it’s always neat to see this in your photo journey.
Negative space is your canvas
Negative space refers to any space in your photograph that is not the subject. Whether it is the ground, a leafy background, the sky, the ocean, or any surrounding landscape, this is all the “canvas” for your subject. I am a big believer in less is more; however, we don’t always have the luxury of framing a bird so perfectly that the only things in the photograph are the bird, the twig it perches on, and the perfect moody sky.
When it comes to shorebirds, such as the canvas, it is much simpler to work with. You have the ocean, the sand, or grass, some rocks or pebbles, and the sky. However, in the forest, we are competing with branches, leaves, a busy network of trees, and everything else! And have you ever noticed there is always that one “stick” a bird manages to perch behind?
In either case, decide which story you want to tell and use negative space to guide the eye to the subject as effectively as possible. Utilize leading lines to guide your viewer through the space to the subject. Pay attention to lines such as where your horizon ends, the ground, a branch, or any other object lines in your photo in relation to your subject. The goal is to lead the viewer to your subject, not away from it.
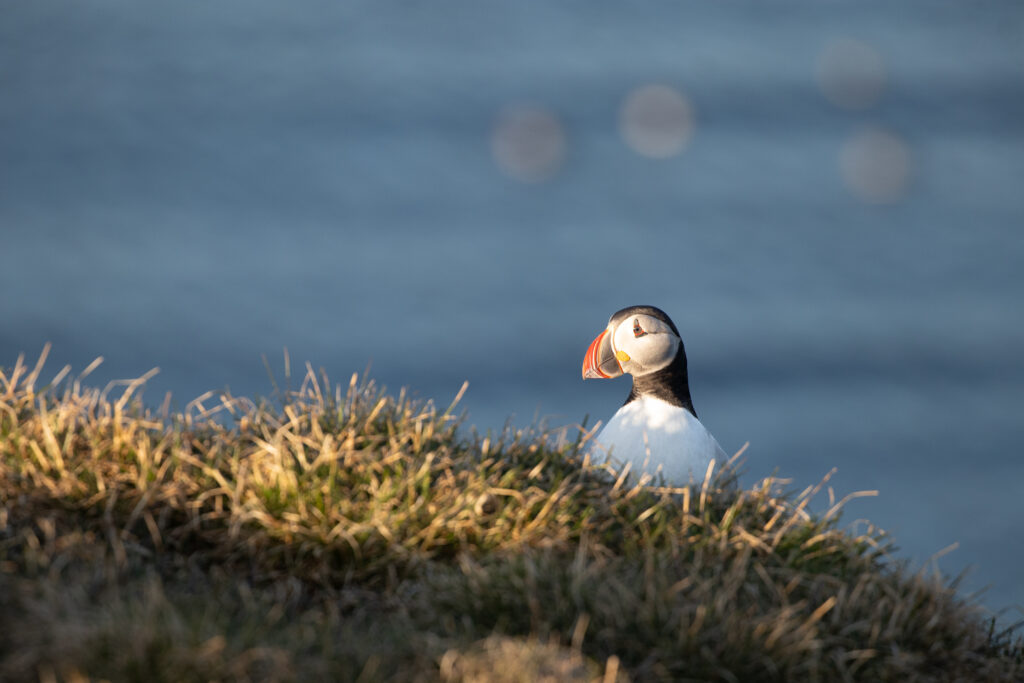
In one of my favorite puffin photos I have ever taken, I used negative space, light, and depth of field to lead the eye and create interest around the puffin. I made a point of including the distant sparkles in the background and the golden light in the water in the foreground to set the scene for the puffin and the viewer. The ground acts as a leading line to lead the viewer’s eye to my subject, the charismatic charmer known as the Atlantic puffin!
Depth of field
One of my favorite ways to tell a story in wildlife photography is using depth of field to lead the eye to a subject.
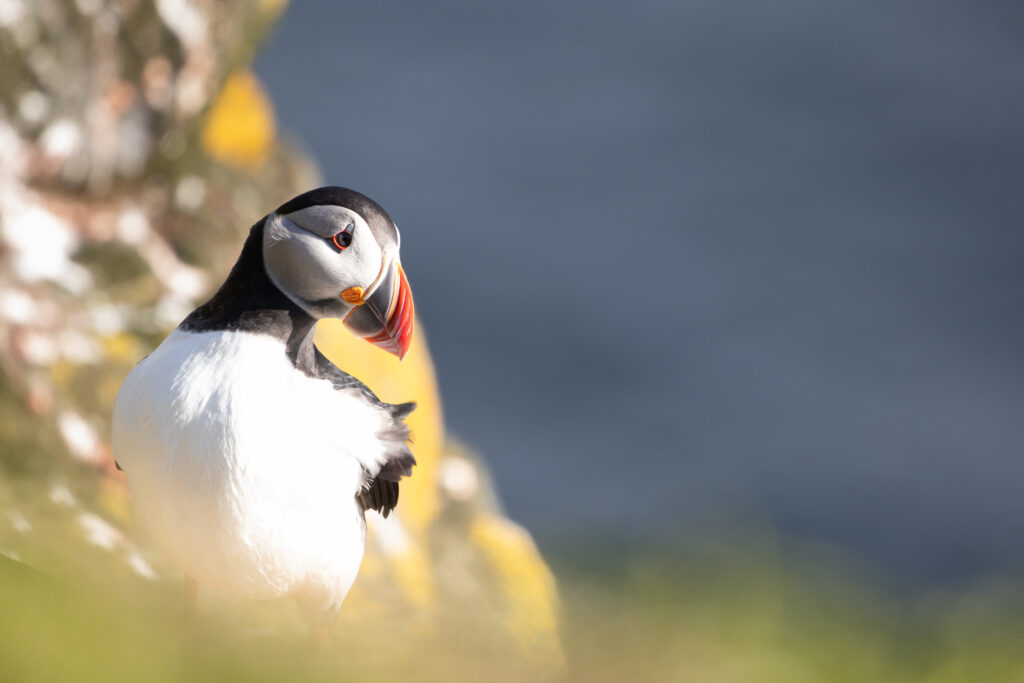
In this photo of an Atlantic puffin, I deliberately set the focus point so that the surrounding grass would blur, creating a nice frame around the puffin. The green draws the eye, and the partially concealed puffin adds mystery to the image.
One way to do this is to get low when taking the pictures. By getting low, you bring us, the viewers, into the image with you, creating natural layers in the photograph.
Tips: For a shallow depth of field (a blurry background), set a wide aperture (a low f-number like f/2.8 or f/4). For a deep depth of field (more in focus), use a small aperture (a high f-number, like f/16 or f/22).

Show us the landscape
I love a good tight portrait, but one mistake I made with my wildlife photography in the beginning was overcropping, or not including any landscape in the photo.
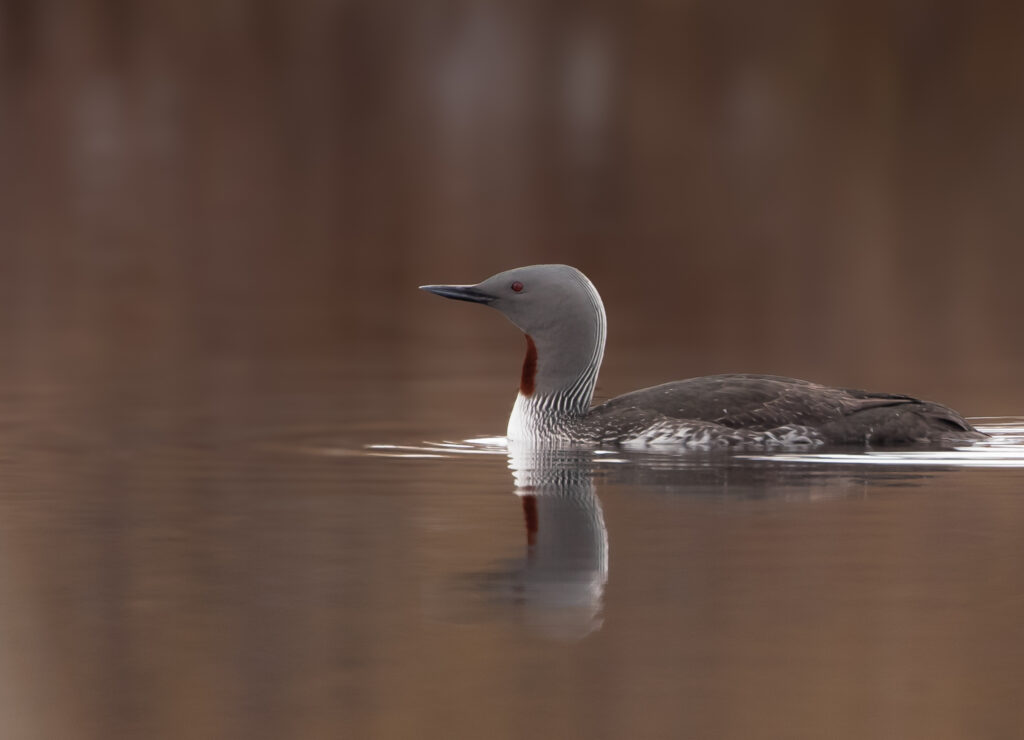
Wildlife exists in some beautiful places—birds such as puffins and harlequin ducks brave rough seas and harsh weather. Including landscape in your bird photography shows us more about this species’ story —where it flies, hunts, observes, etc.
In these photos, you really get a sense of where these Arctic ducks thrive by including the rough waters and conditions around the subjects.

Additional tips
Never forget your own personal journey as a photographer. Developing your own “why” is a special piece to your photography storytelling.
For some, it is to create award-winning images, for others, it is for advocacy or their own personal enjoyment.
Regardless, at its core, wildlife photography should be something we do for joy, love, and with deep respect and understanding for our subjects — these beautiful creatures we share Planet Earth with.